Overhauling my WordPress website from scratch using Bootstrap v4 (alpha)
Update: This post is from the summer of 2016. I have since updated my blog to the premium theme you see now. I’ll keep this post for posterity and to see the process I went through in playing with the Alpha version of Bootstrap4 and the styling and layout decisions I made
My personal blog has been a source of much frustration lately. As someone who prides themselves on the quality of their online content and projects, I really have neglected my own presence on the web to an embarrassing extent. That ends now. Today, I’m going to document how I redesigned my WordPress blog from scratch to better match the goals that I set out for it.
My old blog layout
I’ve hopped around to many different free and paid themes over the years, never fully liking any of them. However, I found myself settling on one out of frustration and procrastination, knowing that learning how to design, build and customise a new theme would take a large chunk of my time. That ends now. There were numerous issues with my old theme, especially with the homepage, below.
At first glance, this isn’t too bad. We’ve got a basic 3 column structure. It’s responsive and has some relatively appealing images. The cards animate in nicely and everything is smooth, very little jankiness.
Homepage issues
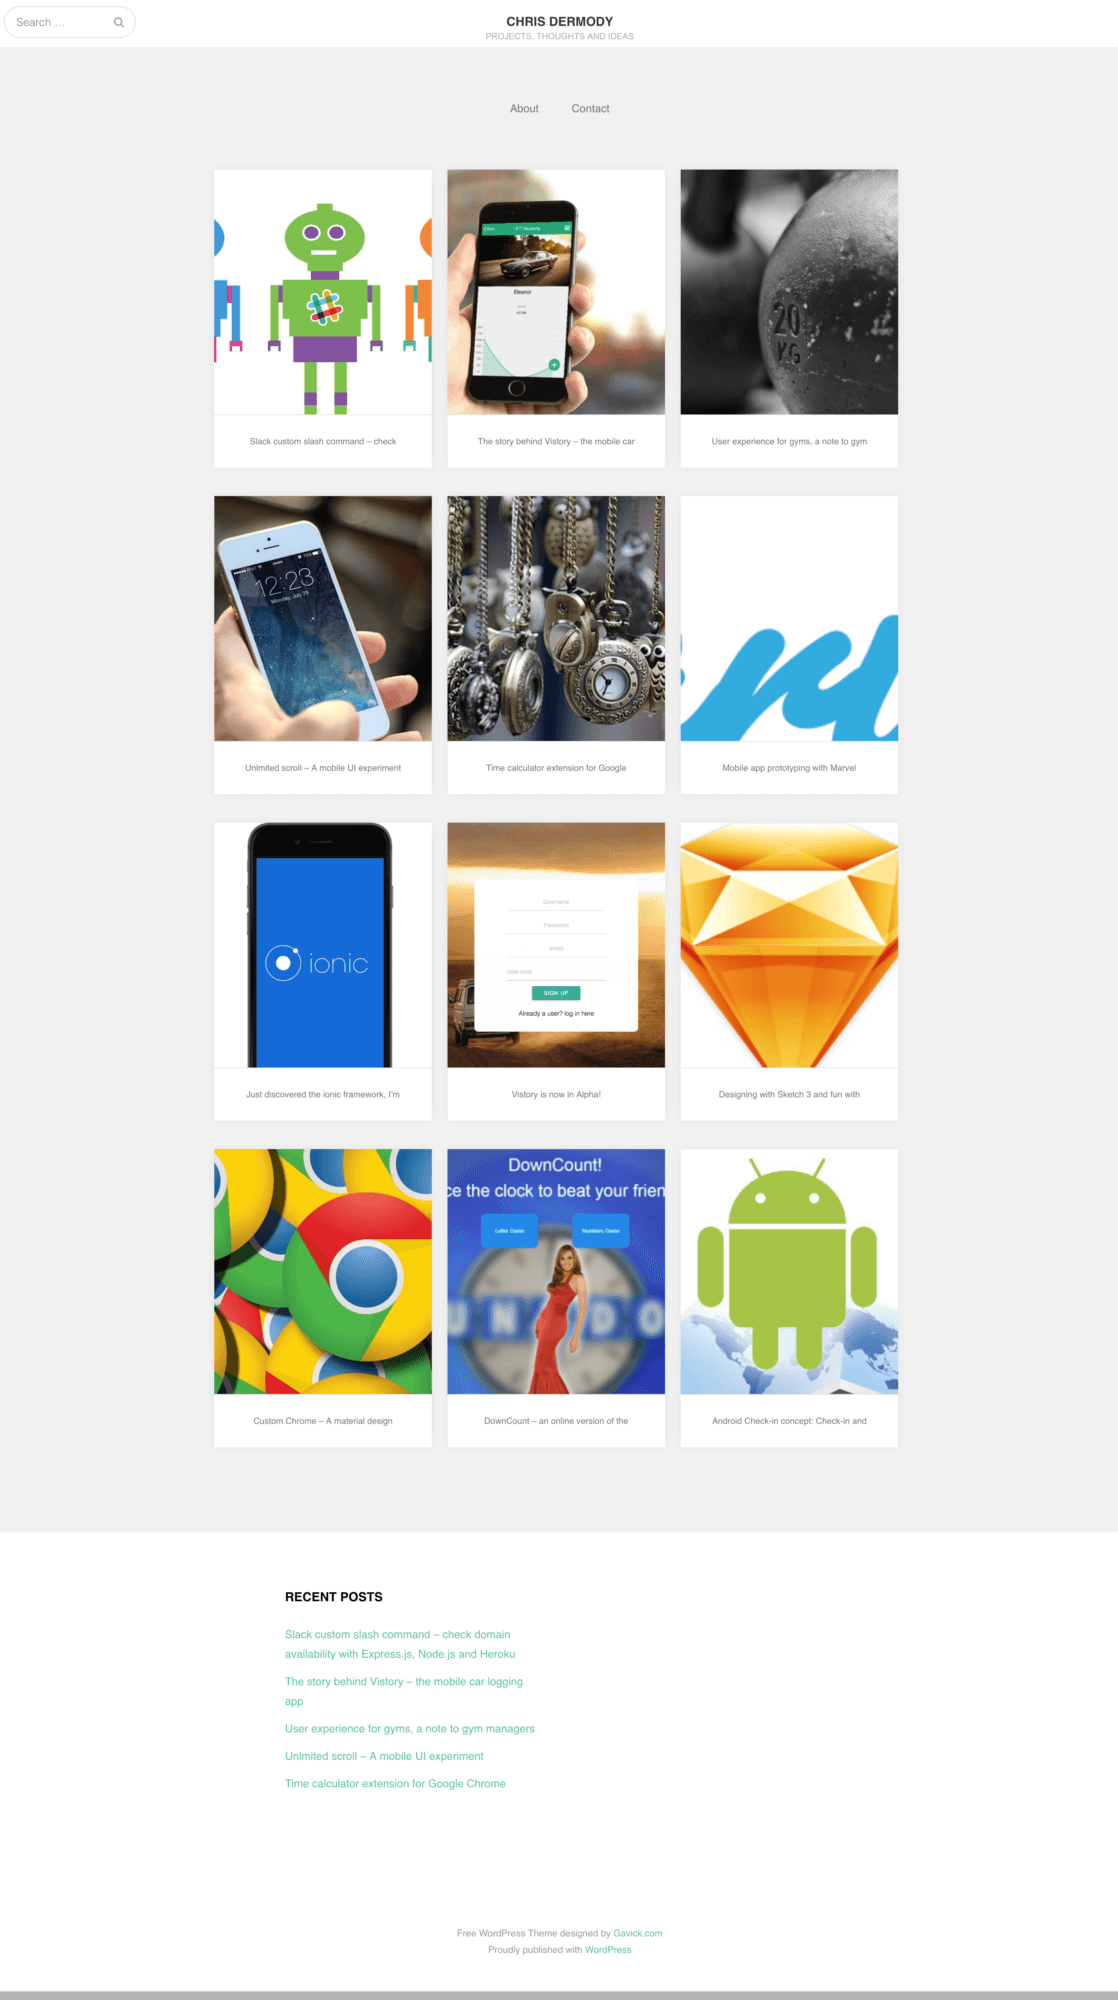
There are a few:
- Images. They don’t fit well. Also they don’t portray the actual blog post well at all in most cases. This is a problem with the theme as it pulls in the featured images from the post itself, which look good in my opinion.
- The lack of accompanying text is a huge issue. The user has to hover over each post to see the title. Even then, the title can be cut off if it’s a long one. This is no good.
- No categorisation. At the moment all my posts are just jumbled together. I want to break these out into visually distinct categories: 1. Software projects
- Hardware projects
- Thoughts, ideas and musings
Blog post issues
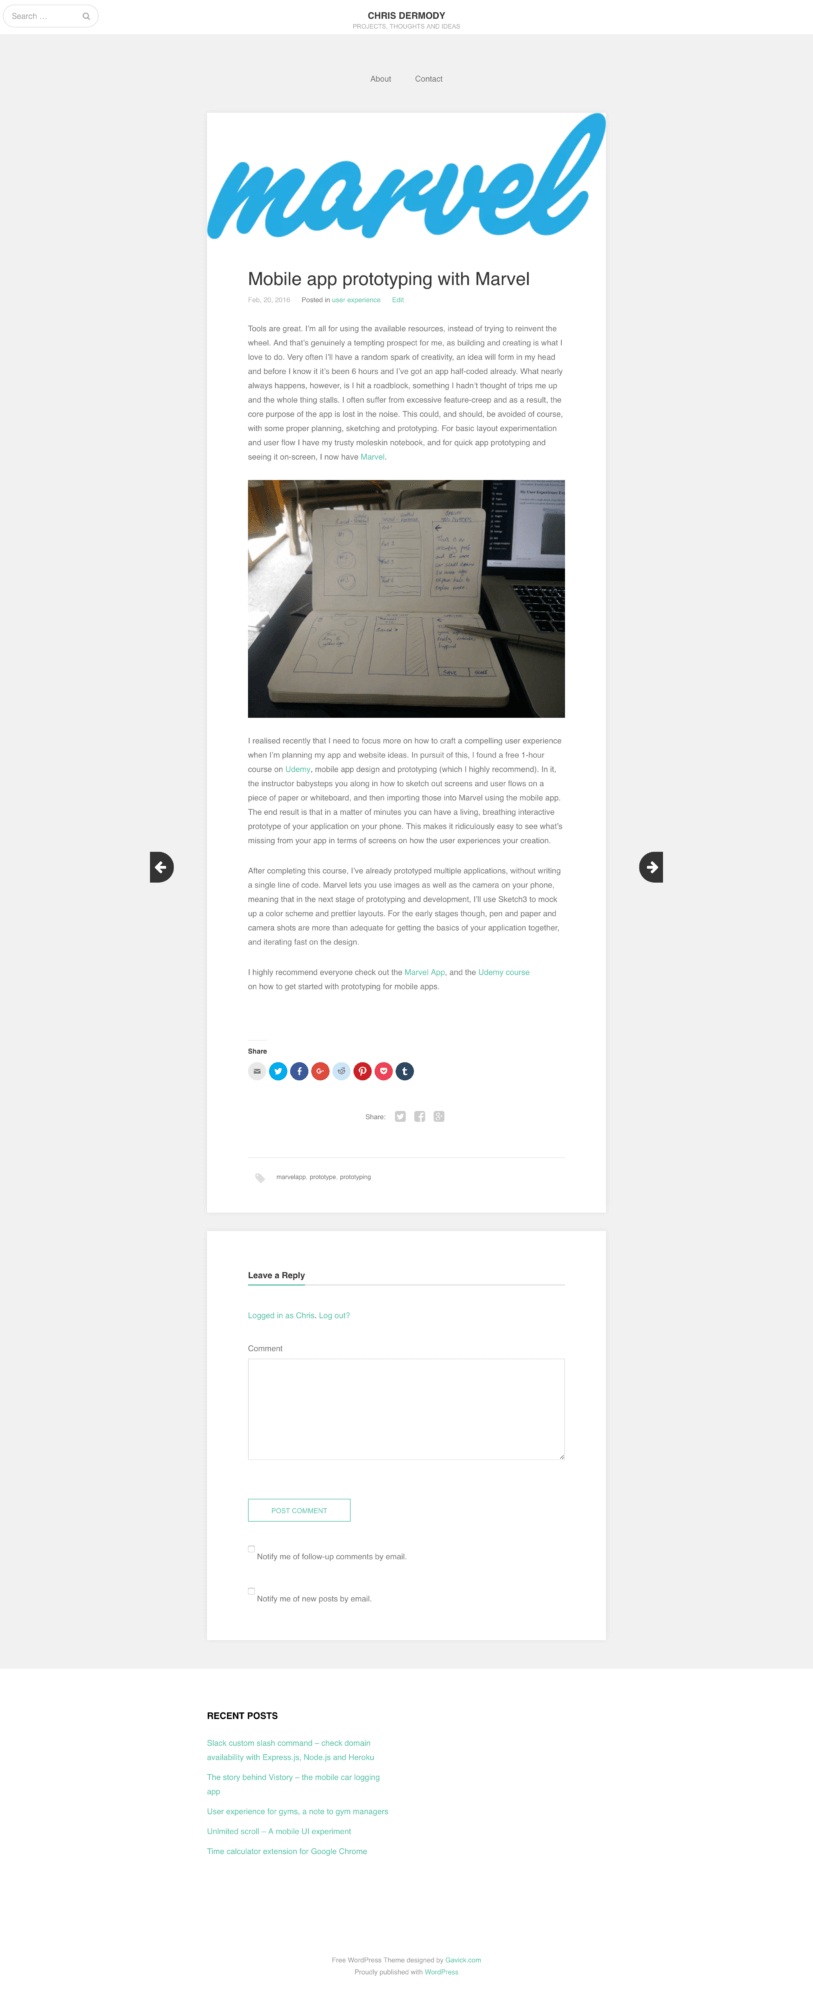
How the old blog posts looked
I’m actually happy enough with how the blog posts display. The posts are responsive, simple and good font sizing and spacing. Each post has share buttons and where applicable, a call to action. I don’t think I’m going to change much, if anything, about the blog posts.
Sketching out some layouts
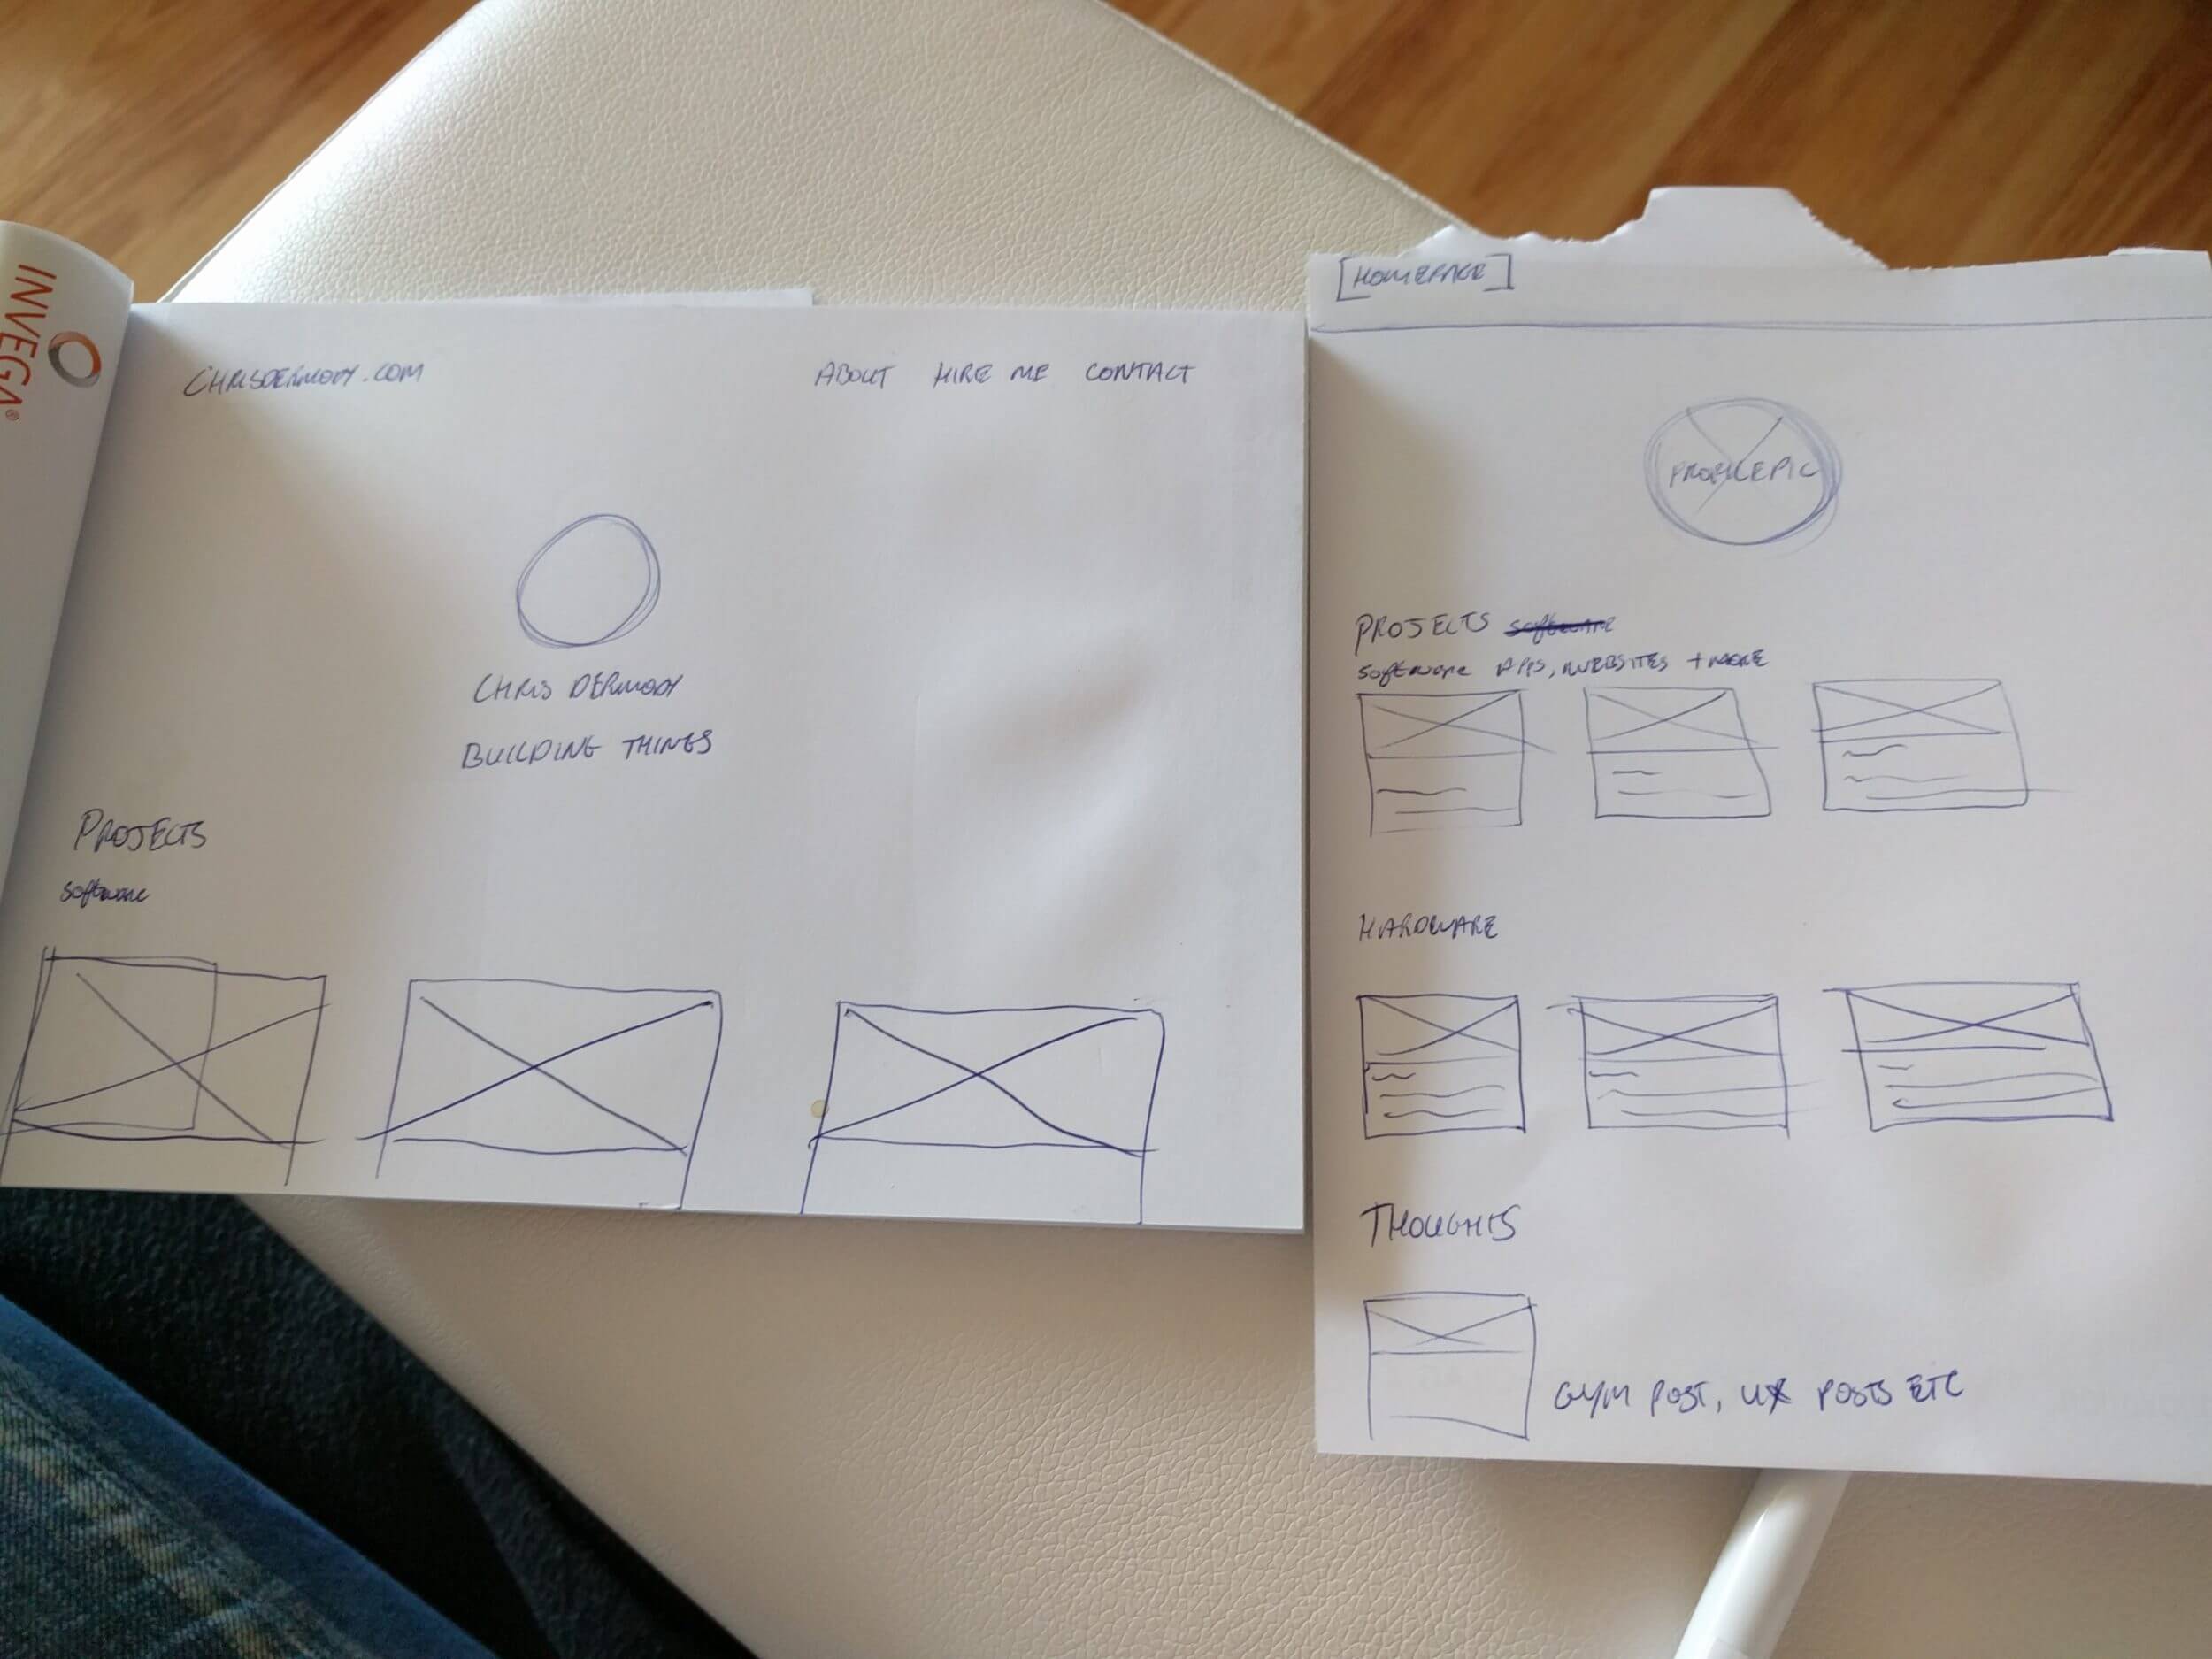
Some layout sketches on paper before diving into code
I wanted to have a solid idea of layout before I settled on a theme and started customising. I’m going to keep the layout fairly simple, and the colour scheme similar to what I had already, keeping it light and neutral with pleasant greys and whites.
I’ve decided to go with a 3 or 4 column layout (depending on screen size), with the categories separated out into easily distinguishable sections. Each section would have a maximum of 6 posts, with a “see more” button that would link to a page listing every post in that category. This should make the homepage easy to digest and navigate for my readers.
Finding a theme to customise
At the time of writing this, Twitter had recently announced their latest iteration of Bootstrap, Bootstrap 4. I found BootstrapFour, a theme based on the alpha version of Bootstrap 4. Being an Alpha version isn’t ideal, and I could have just used Bootstrap 3, but there are a lot of cool things about the new version that I wanted to explore such as like the utility classes that make adding padding and margin quick and easy. It’s the little things. 🙂
Setting the site up locally
Working on the live version of my site wasn’t an option for me. The site was getting regular visits and I wasn’t sure how long this overhaul was going to take. Plus, it’s just best practice to develop and test locally, pushing to live only when everything is in order. So, I used DesktopServer to spin up a local development environment for chrisdermody.dev. I downloaded my site’s posts and media via WordPress export, and then imported them into my local wordpress installation, effectively cloning my site, but without the extra files that might be lying about from old plugins and themes I used over the years. I installed the BootstrapFour theme and… success!
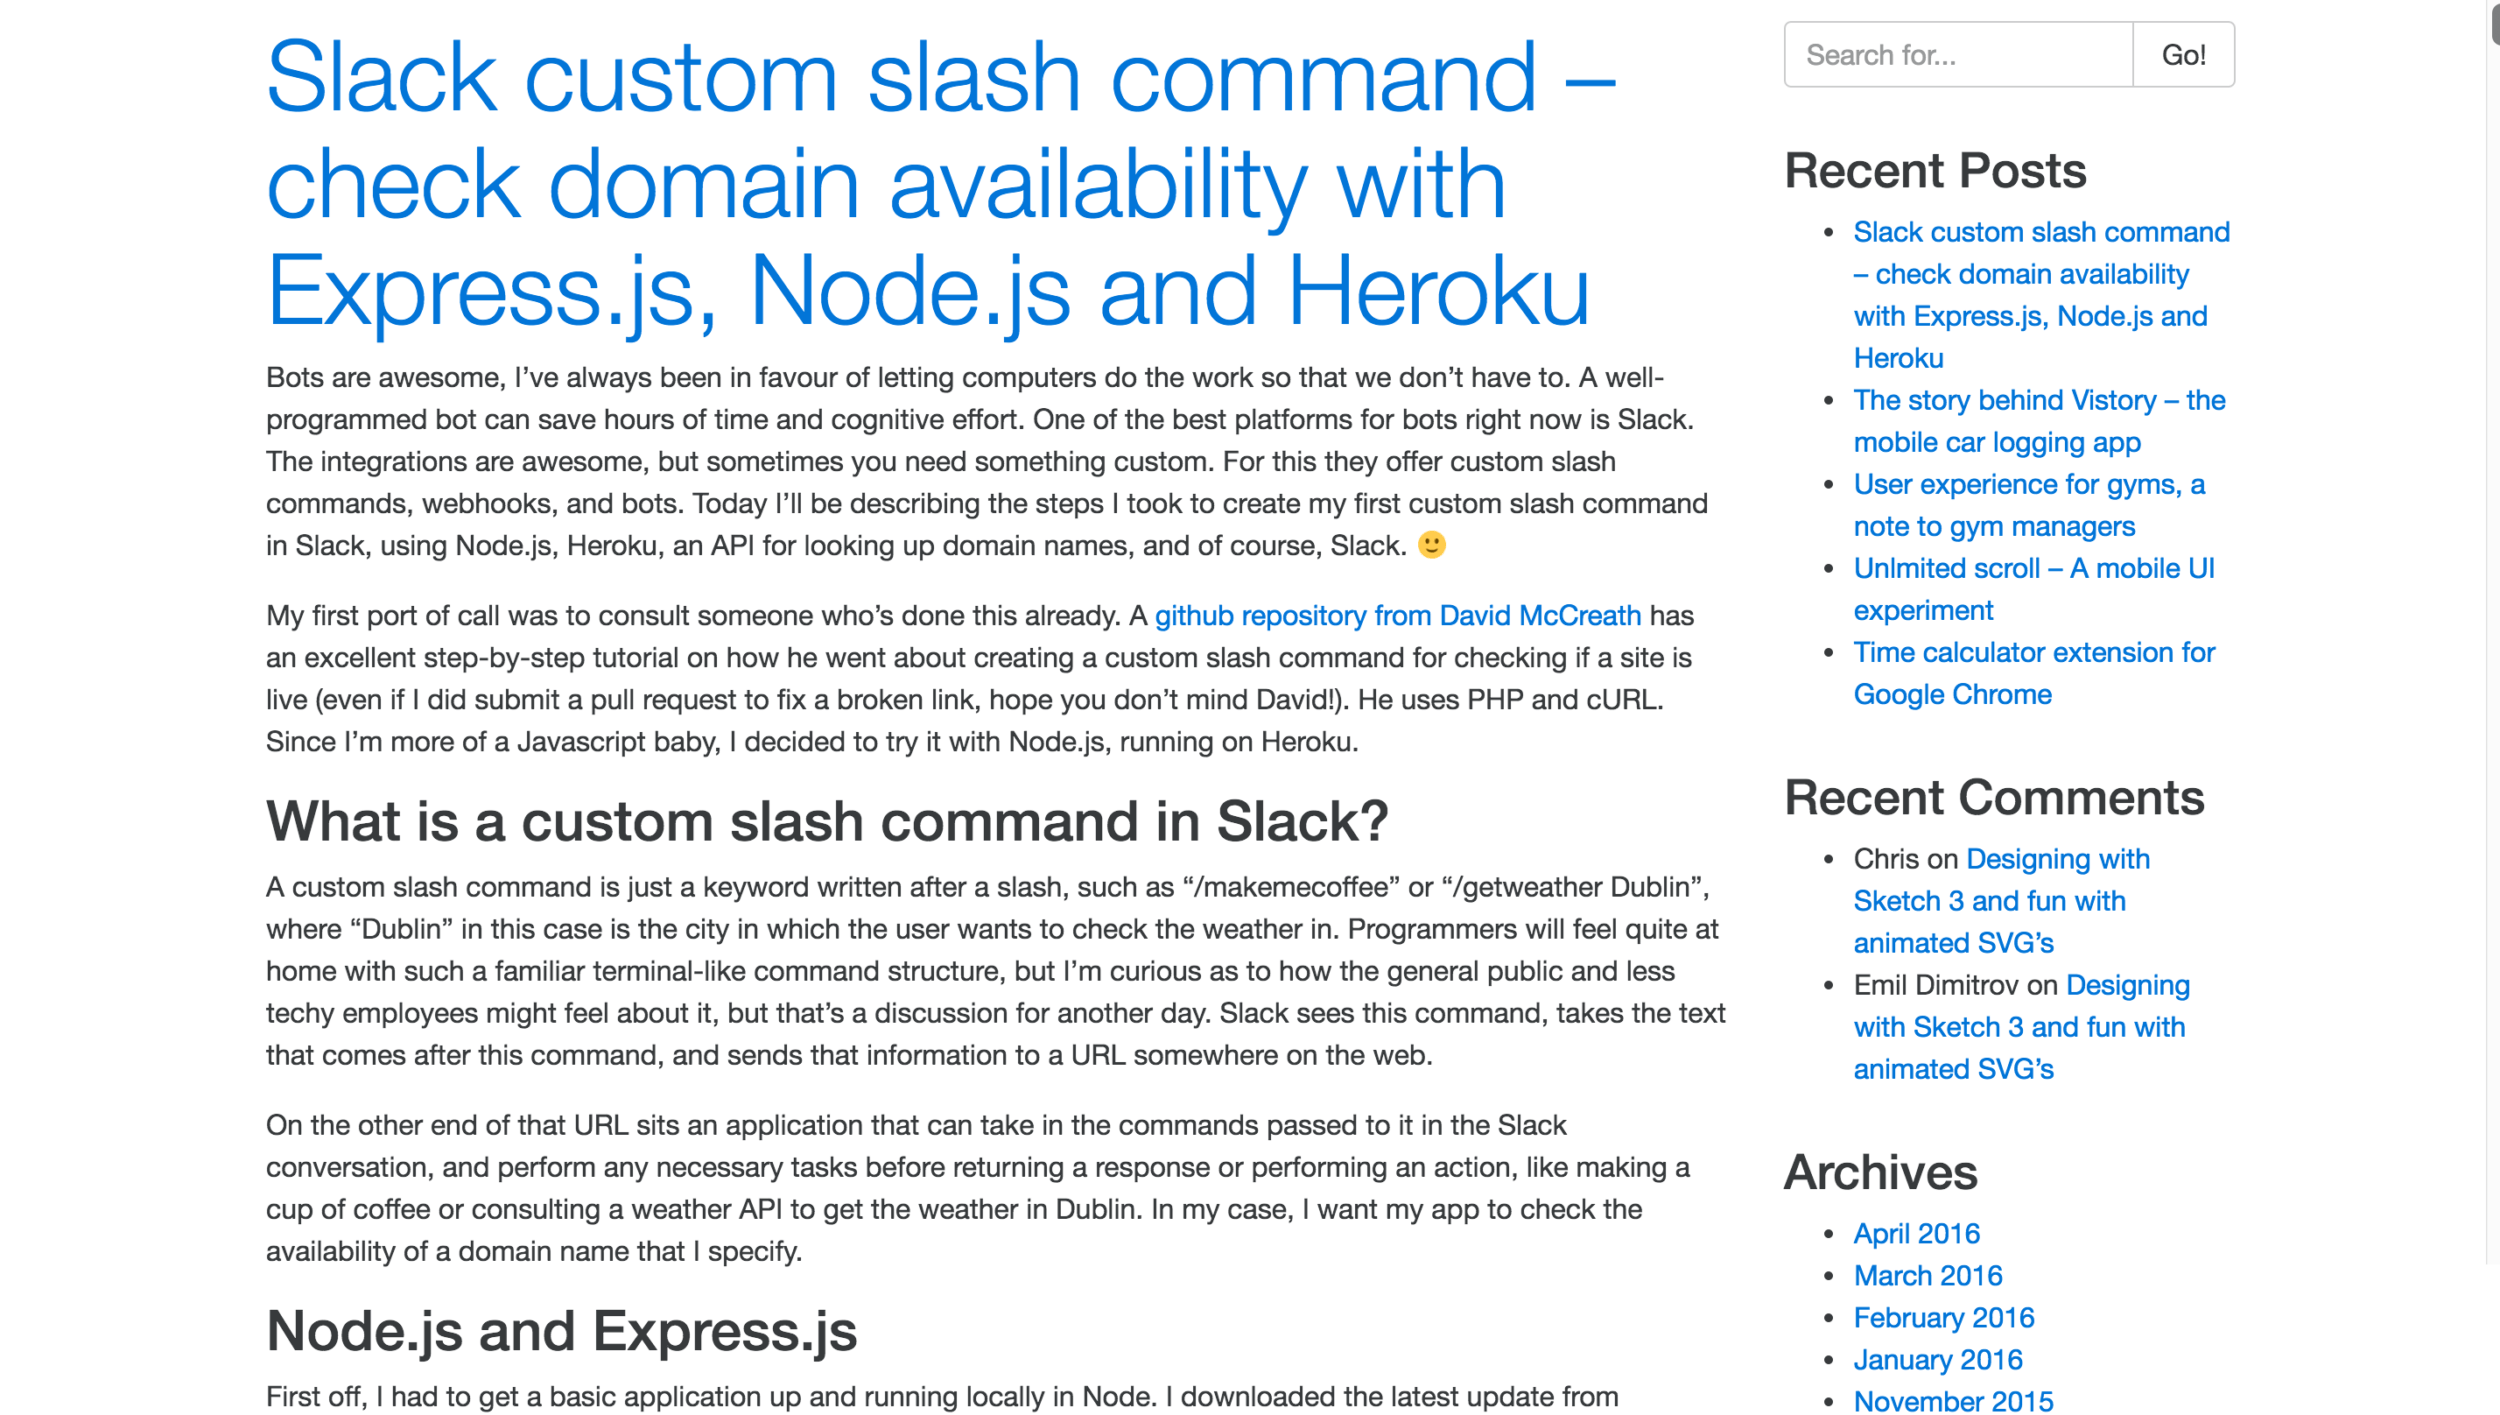
After installing the BootstrapFour theme
Creating a child theme
The next step is to set up a child theme for BootstrapFour. This is so that I can update the theme in future without breaking my custom styles. I followed the WordPress guide so as to adhere to best practices.
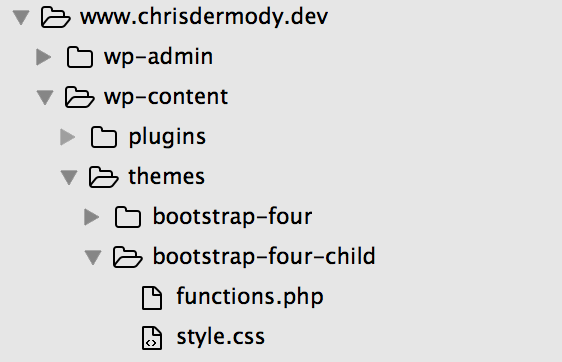
My themes folder after creating a child themes folder and files
It’s time for a quick test. I added a background-color:orange to my body tag in my new style.css file and…
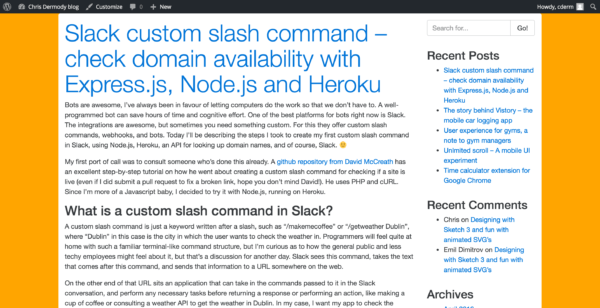
The bright orange background appears, it works!
Awesome.
Create a homepage
At the moment, the homepage is just listing all my blog posts in one long page. That’s no good. Let’s create a page that we’ll use as the homepage and later edit to have the layout I sketched out earlier.
To do this, I created the file “homepage.php” in my child theme’s directory, and included the php code found here. This allowed me to create a new page in my WordPress admin, set that page’s template to my new “homepage” template, and then set that page to be the home page of my site.
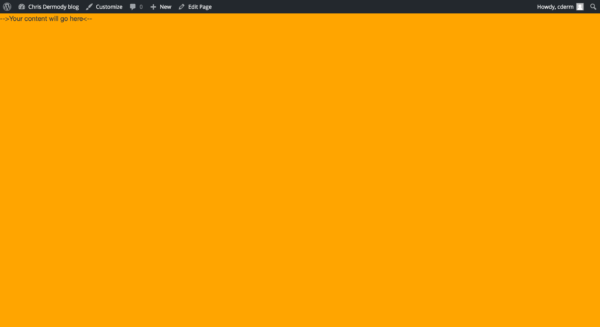
The result! Still has my orange background and the content is gone, a nice blank slate. 🙂
Implementing the layout
Let’s add a navbar. I’ll go grab some code from the bootstrap4 docs and pop it into my header.php file, as I’ll want the navbar to appear on every page. While I’m at it I’m going to go and add some basic text to start the layout for the homepage. And finally, let’s get rid of that orange background.
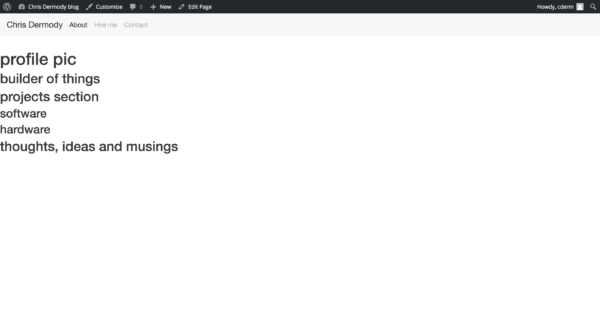
ooh yes, she’s starting to come together 😀
More styling
I don’t want the navbar to take up the full width of the screen, so I’m going to use the .container class in bootstrap to centre it somewhat. I’m also going to paste in some jumbotron code as a sort of placeholder, just because it provides a focal point for the page. Let’s centre the actual content of the page too, using a .container.
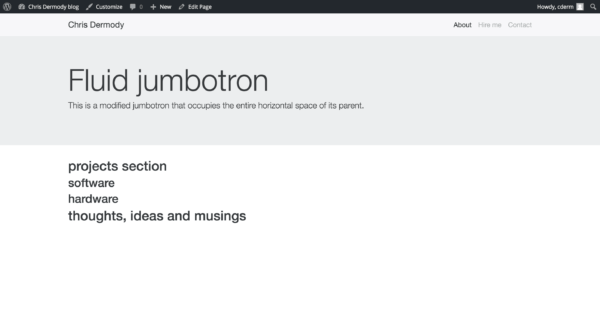
Content is in .containers now, looking nice
Time for some more layout
Ok, we now have a half decent layout, lets go ahead and tackle the nuts and bolts of the homepage. I wanted 3 sections that would list blog posts from different categories: projects-software, projects-hardware and thoughts. First off, let’s just mock up the content so we can create templates for the php code to fill with blog content.
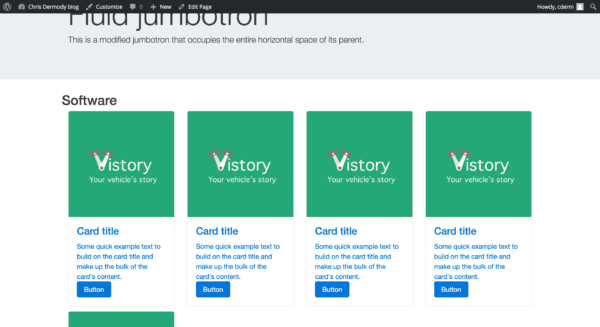
Hard-coded twitter bootstrap cards, looking nice and responsive
Using WPQuery() to retrieve blog posts based on category
I have three categories for my blog posts (for now); Software projects, hardware projects, and thoughts. I want three sections on my homepage that list the last 6 posts from each category. To achieve this, I’ll use the WPQuery() php function with some parameters for pulling in the respective categories, and limiting the results to 6:
<?php $query = new WP_Query( 'category_name=software&posts_per_page=6' ); ?> <?php if ( $query->have_posts() ) : while ( $query->have_posts() ) : $query->the_post(); ?>
 <div class="col-md-4">
 <div class="card homepageCard">
 <a href="<?php the_permalink() ?>" rel="bookmark" title="Permanent Link to <?php the_title_attribute(); ?>">
 <div class="cardImg" style='background-image:url("<?php the_post_thumbnail_url('small'); ?>")'></div>
 <div class="card-block">
 <h3 class="card-title"><?php the_title(); ?></h3>
 </div>
 </a>
 </div>
 </div>

 <?php endwhile;
 wp_reset_postdata();
 else : ?>
 <p>
 <?php _e( 'Sorry, no posts matched your criteria.' ); ?>
 </p>
 <?php endif; ?>
So what’s happening here? I’m passing in ‘category_name=software&posts_per_page=6’ to the WPQuery() function so that in the first row of content, it will pull in the last 6 posts from my software projects function. I’m using Bootstrap 4’s layout structure in the HTML, and populating the content with PHP queries. The result is almost exactly what I wanted!
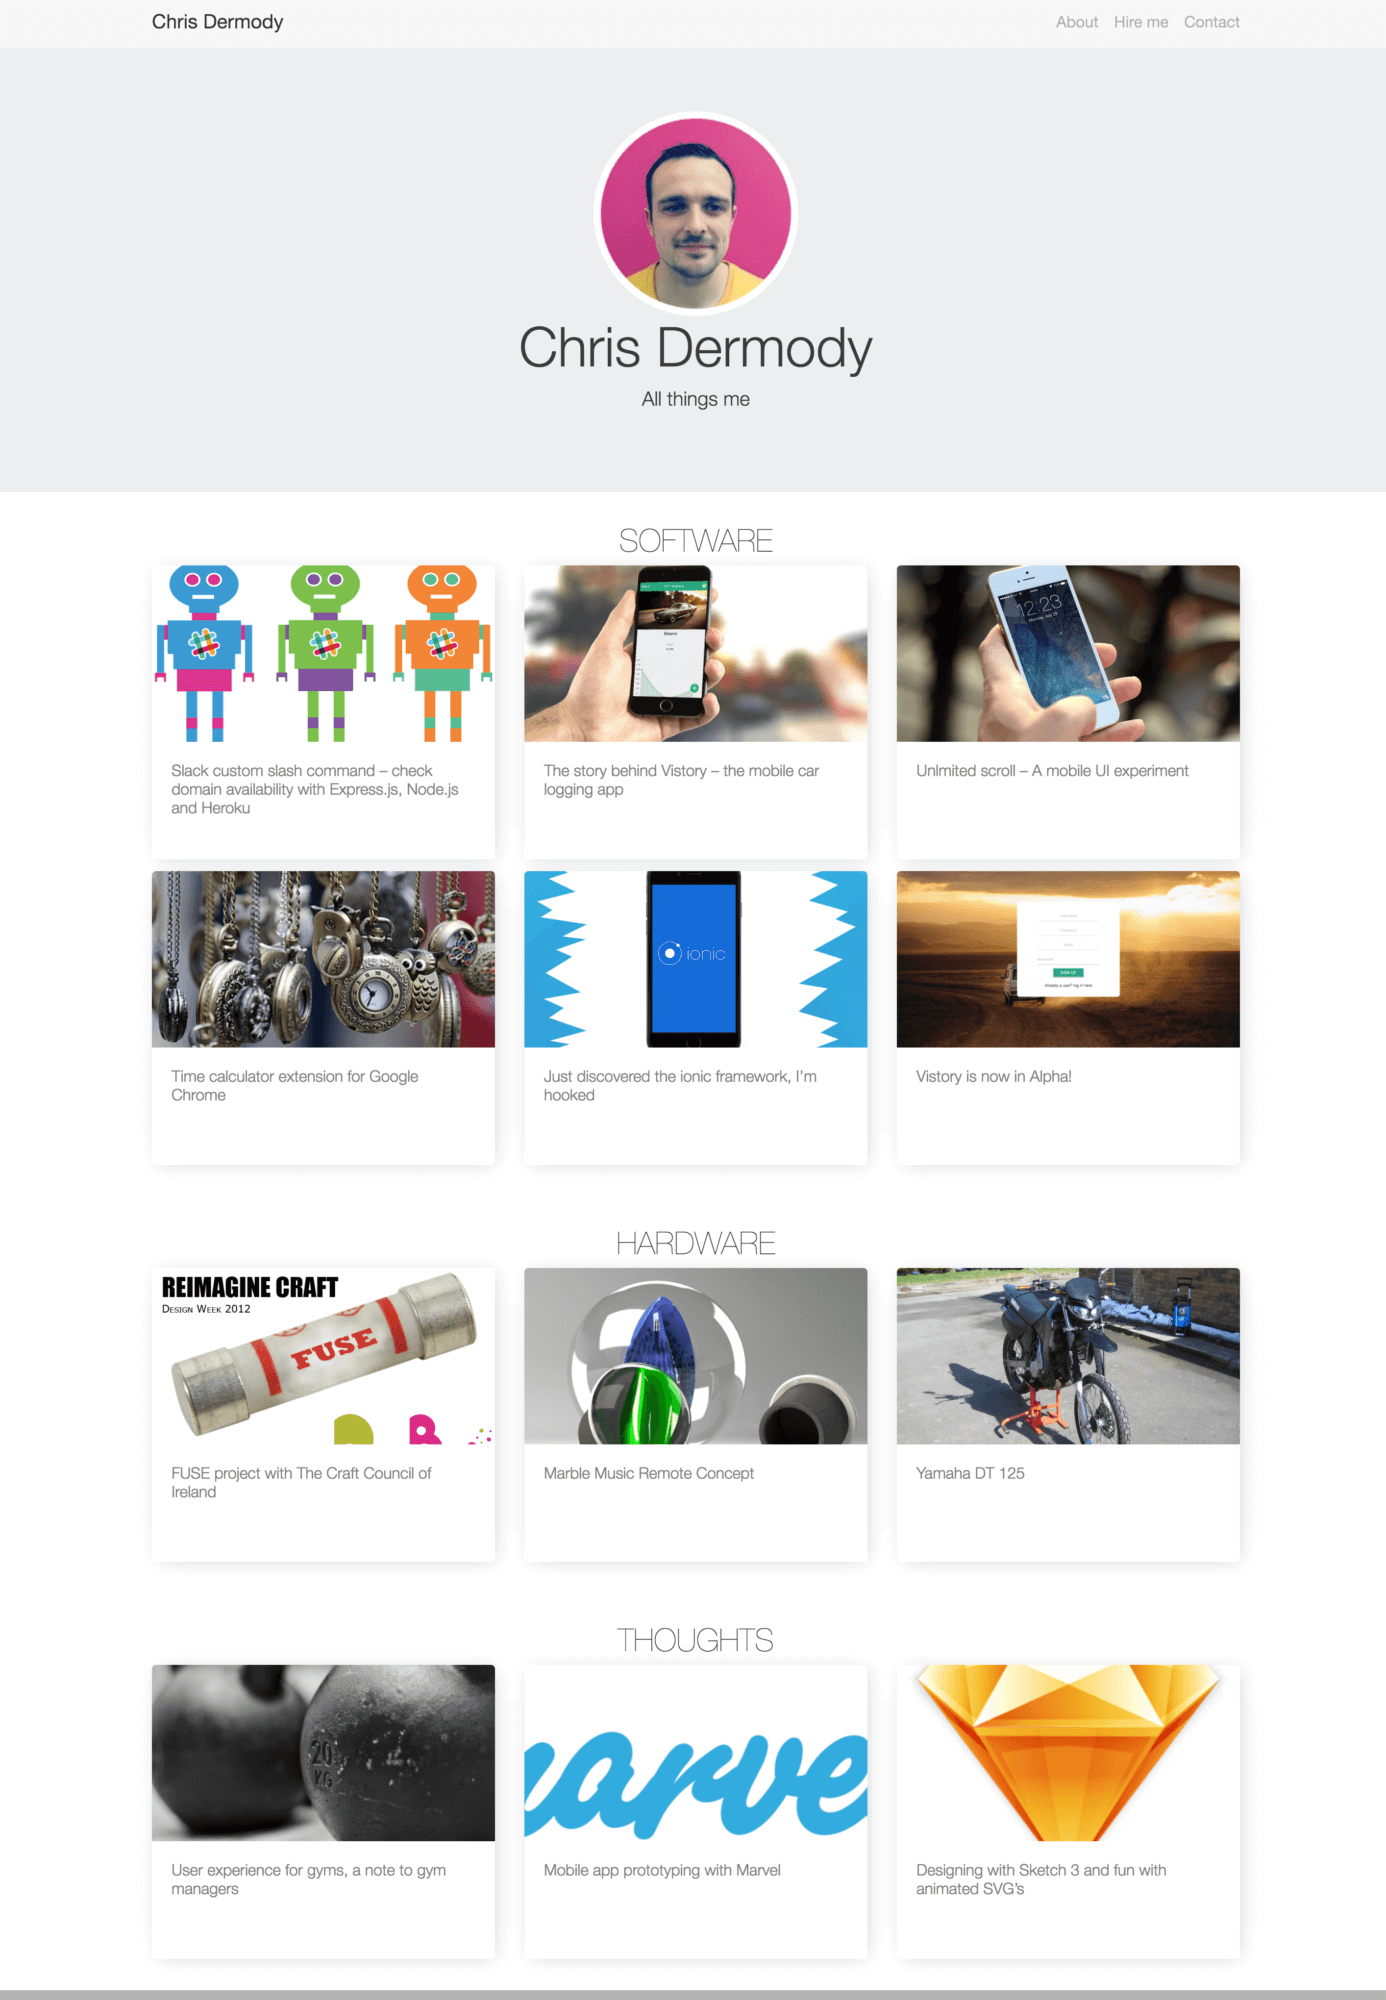
I decided to go with 3 column layout instead of 4, it was a bit cramped 🙂
You can see the 3 distinct sections, and only the software category has 6 posts. The other two will grow in time 🙂
Styling the WordPress blog posts page
As I mentioned earlier, I want to keep the basic layout of the blog posts the same as my old site, because it’s clean, easy to read, and responsive. This involved taking the content.php file form the BootstrapFour theme, copying the file into my child theme directory, and making the necessary changes.
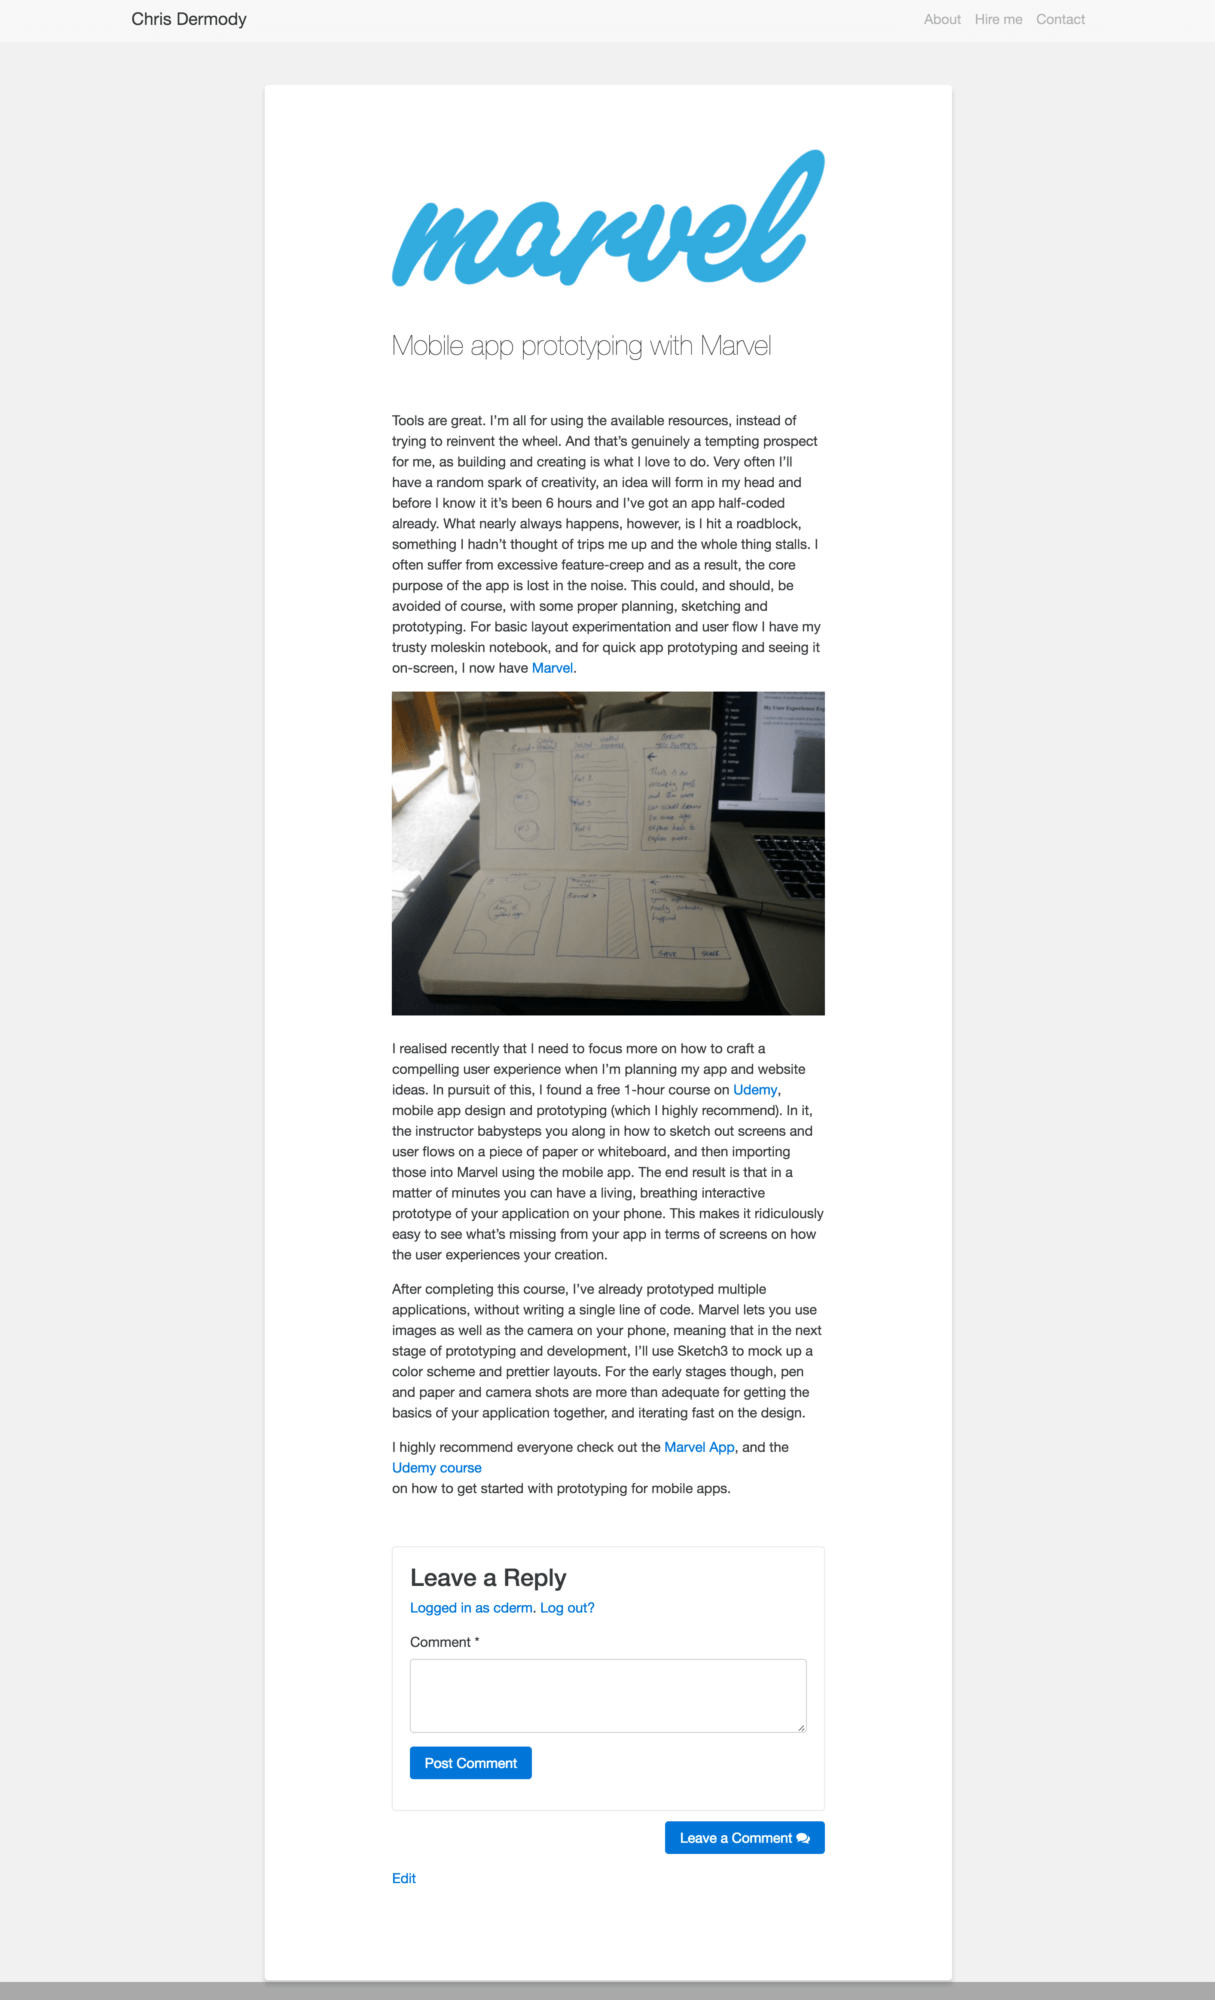
Styling my blog posts to be clean, readable and responsive
And we’re done!
Review and what’s next
You can see in the last screenshot that the comments box on the blog posts isn’t the prettiest thing in the world. I haven’t decided yet if I’ll disable commenting on my blog posts or not. If I keep the comments I’ll re-style the input box at a later date.
Overall I’m more and more impressed at how easy WordPress and php is to manipulate and bend to my will. Bootstrap v4 is also very easy to use and style, I can’t wait for it to reach a full release so I can use it in more projects. 🙂
